Titan的官方手册内容更加丰富,但是太多,初学者不知如何下手,本文摘取重点部分,希望能快速上手Titan。
1.版本说明
Titan:titan-server-0.4.4
HBase:hbase-0.94.6-cdh4.3.2
Elasticsearch:elasticsearch-0.90.3
2.环境说明
服务器3台:
master 10.0.1.252
slave1 10.0.1.253
slave2 10.0.1.254
HBase搭建的是集群,一个master,两个slave;Elasticsearch在master上部署的单机版本;Titan在master上部署的单机版本。本文不包括HBase集群搭建过程。
3.Elasticsearch安装
由于Titan0.4.4版本只能支持Elasticsearch的版本是0.90.3,看这里Version-Compatibility。所以这里注意版本,Elasticsearch 0.90.3的文档可以看这里Elasticsearch-doc。下面开始安装。
wget https://download.elasticsearch.org/elasticsearch/elasticsearch/elasticsearch-0.90.3.tar.gz
tar –zxvf elasticsearch-0.90.3.tar.gz
cd elasticsearch-0.90.3

启动elasticsearch:
./bin/elasticsearch
执行jps,会看到多了一个ElasticSearch的进程,说明成功
4.Titan安装
Titan有多种版本提供下载,这里选择titan-server-0.4.4。
mkdir /home/hadoop/titan-cdh4.3.2
进入
cd titan-cdh4.3.2
下载
wget http://s3.thinkaurelius.com/downloads/titan/titan-server-0.4.4.zip
解压
unzip titan-server-0.4.4.zip
进入目录
cd titan-server-0.4.4
修改配置文件
vi ./conf/titan-hbase-es.properties

storage.hostname=master,slave1,slave2
storage.port=2181
cache.db-cache = true
cache.db-cache-clean-wait = 20
cache.db-cache-time = 180000
cache.db-cache-size = 0.5

storage.index.search.backend=elasticsearch
storage.index.search.hostname=master
storage.index.search.client-only=true
初始化Titan与HBase
cd /home/hadoop/titan-cdh4.3.2/titan-server-0.4.4/
./bin/gremlin.sh

gremlin>g = TitanFactory.open('conf/titan-hbase-es.properties')
这时候到hbase shell下面执行list命令,可以看到多了一张titan的表,执行describe ‘titan’可以看到titan的表结构,加载数据:
gremlin> GraphOfTheGodsFactory.load(g)
到hbase shell下面执行scan ‘titan’可以看到初始化了一些数据,下面用gremlin命令行验证一下这些数据
gremlin> saturn = g.V('name','saturn').next()
==>v[4]
gremlin> saturn.map()
==>name=saturn
==>age=10000
==>type=titan
gremlin> saturn.in('father').in('father').name
==>hercules
如果输出一致则验证成功
5.Rexster配置
这部分文档参考:https://github.com/thinkaurelius/titan/wiki/Rexster-Graph-Server
修改rexster配置文件
cd /home/hadoop/titan-cdh4.3.2/titan-server-0.4.4/conf
cp rexster-cassandra-es.xml rexster-hbase-es.xml
vi rexster-hbase-es.xml
有两个地方要改,一个是http这个标签,一个是graphs这个标签,黄色是需要修改的内容,第一个修改如下:
<http>
  <server-port>8182</rexster-server-port>
  <base-uri>http://54.255.164.52</base-uri>
  <web-root>public</web-root>
  <character-set>UTF-8</character-set>
  ...
</http>
第二个修改如下:
<graphs>
    <graph>
        <graph-name>graph</graph-name>
       <graph-type>com.thinkaurelius.titan.tinkerpop.rexster.TitanGraphConfiguration</graph-type>
        <!-- <graph-location>/tmp/titan</graph-location> -->
        <graph-read-only>false</graph-read-only>
        <properties>
            <storage.backend>hbase</storage.backend>
            <storage.hostname>master,slave1,slave2</storage.hostname>
            <storage.index.search.backend>elasticsearch</storage.index.search.backend>
            <storage.index.search.hostname>master</storage.index.search.hostname>
            <!--<storage.index.search.directory>../db/es</storage.index.search.directory>-->
            <storage.index.search.client-only>false</storage.index.search.client-only>
            <storage.index.search.local-mode>false</storage.index.search.local-mode>
        </properties>
        <extensions>
          <allows>
            <allow>tp:gremlin</allow>
          </allows>
        </extensions>
    </graph>
</graphs>
启动Rexster
cd /home/hadoop/titan-cdh4.3.2/titan-server-0.4.4
./bin/rexster.sh –s –c ../conf/rexster-hbase-es.xml
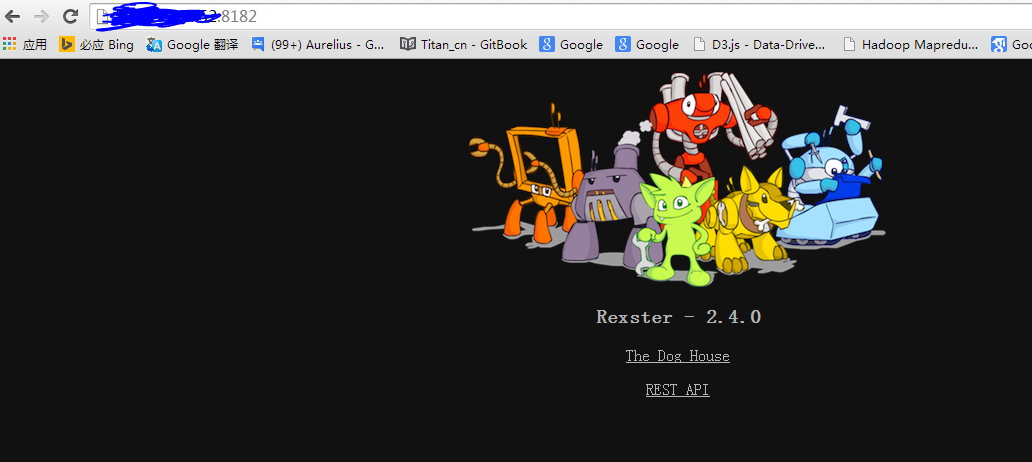
出现下面画面则启动成功

Rexster是建立在任何实现了Blueprints的图数据库(Graph Database)之上的web server,它提供这三种功能:
- 提供基于REST的接口方法:GET, POST, PUT, and DELETE,去操作Graph Database
- 基于上面的例子,在浏览器输入:http://master-ip:8182/graphs/graph/edges 会返回graph的edge信息
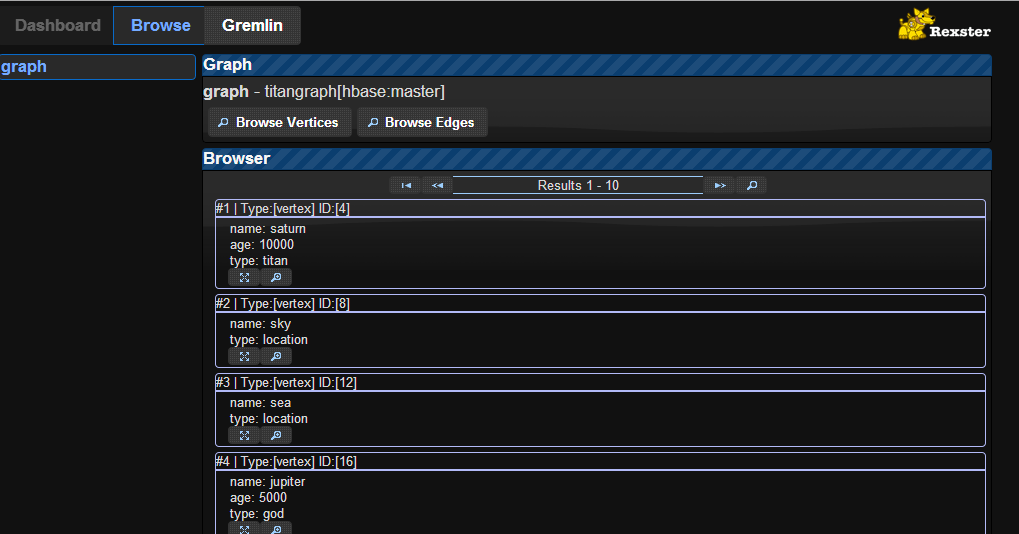
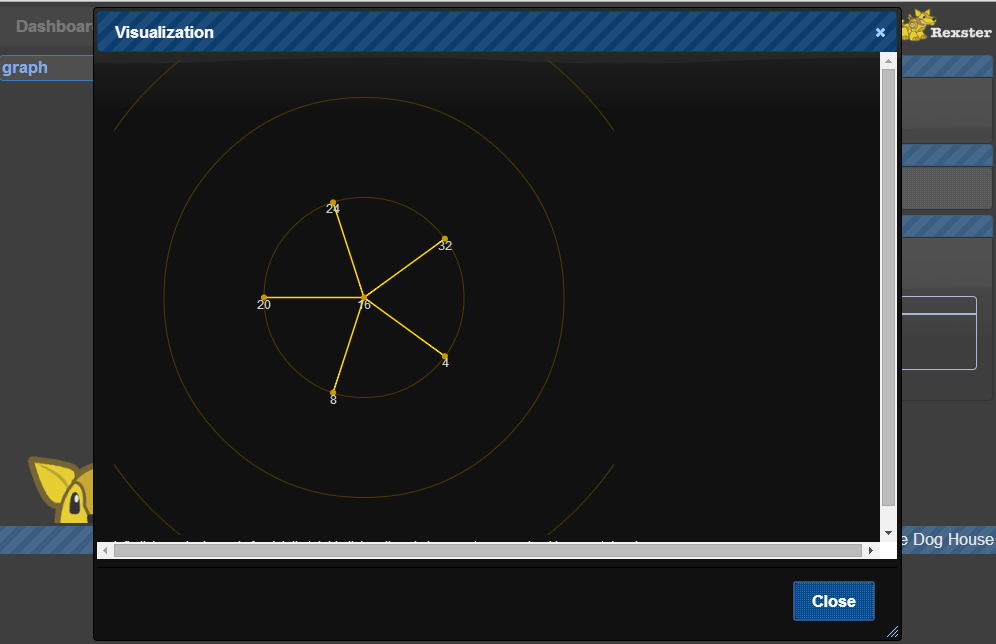
- The Dog House提供基于浏览器去操作Graph,还有可视化Graph,界面如下:
- 提供RexsterClient客户端去访问Rexster server,包括执行一些Graph的操作

